Thursday, October 9, 2014

Molon Labe

If you were to meet me in person on the street or as the singing barista at Starbucks you would probably just think, there is a nice older lady. But as you get to know me you will learn to "Beware of the fluffy gramma!" LOL. 


Even up to a year ago, the only bumper sticker you would find on my vehicle was an human trafficking awareness sticker. I have spent several years involved in raising awareness of human trafficking in the United States. After we visited Utah last year for Mr. Perky's Utah Concealed Carry Instructors recertification I added two more: Zion National Park and Death Valley.
Most recently, I added this "Molon Labe" signage. Knowing that in the very liberal Northern Virginia area, most people wouldn't recognize what this means.
Since doing this I have actually seen a couple more cars with this sticker...and it makes me smile.


 Since he has been a range master for 40 years & taught Utah Concealed Carry for about 10 years, Mr. Perky is the one who puts in the most effort in our defense. He has been a range master for over forty years. He keeps me on track for practicing my skills and taught me how to reload. I have been talking to him about possibly writing a post or two. We will see...


He brings me home gifts...


Honestly, those of you who follow me this isn't new info. It's just a "cull the herd post".
We will see how many "likes" go away. Keep on prepping! 


Tuesday, October 7, 2014

Let's have a chat about finances....

After posting about paying cash for our new home, a few people were asking about how we were able to accomplish that feat. I am going to start posting on Friday's about how we got to where we are at in our financial journey.
Before we started on our journey we were very much in debt. About four years ago (2010) we became very concerned about the economy and our impending retirement.
First, there is a difference between actually owning something and having something.
The realization hit there is a fallacy in thinking that “we owned our home”. At that point we owned three vehicles, which were paid off. That is what owning something means to me. We had (have a house) a house, which we were in debt on, i.e. mortgage, which actually means the bank owns the house. There is a distinction there.
We had built a “craft room” onto our home, which was where my mother in law lived until she died. That was a wise choice in my opinion. After she passed away we earned additional income by having people live there.


The "craft room" has a bedroom, bathroom, living room & kitchen

We are not rich. Though I often find people never define themselves a rich. Rich is what people are who make more money than you do. We are well educated, but both of us have chosen to work blue color, service industry jobs. DH does several things to bring in additional money to include teaching Utah Concealed Carry courses and fixing vehicles.

Today's focus point is understanding your why?
We realized we really needed to get out of debt. At that point we didn't even have a thought about paying cash for another house. For some reason it finally clicked we were committed to getting and staying out of debt. 2010, that was the year.
Why do you want to get out of debt? Really think about it. How serious are you? What are you willing to give up to attain that goal? Write that reason down, post it on your fridge or carry it with you in your wallet. Wrap it around your credit cards.

We are all at different points in our financial journey. Only you are able to make the decision to change your thought process and take the first steps to get out of debt. You can use any excuse you want to, but the reality is you got yourself into debt (there are few true exceptions), only you can get yourself out of debt.
I want you to feel free to chime in and share your “why” if you want to.
Next week I will talk about how important is your why...
For more information...
10/10/14 I am currently adding more blogs posts to explain a little more in detail about how we got to this point in our journey. These posts are listed here under "Financial"


Saturday, October 4, 2014

Ebola

My assumption is you are bright people and you are very aware of what is happening in the world. I truly want to keep focused on actually preparing & learning skills. Plus, there are other places that will give you a constant stream of various hazards happening that could threaten society.
From the beginning, I have stored medicinal items. Back stocking prescriptions as possible, homeopathic options, tying to think about what would be needed in a grid down situation.  
The only thing I have purchased because of the Ebola threat is upgraded 3M Particulate Respirator 8233, N100 (you also need the N100 filters) and some more 3M 1860S Particulate Respirator N95 face masks (associate links). I already have a fair amount of items including disposable protective suits, shoes coverings, gaffers tape, gloves, goggles and more. I rarely encourage people to buy things, but there is a chance that the prices will go up quickly as people start to get concerned. The thing to remember is most of this is disposable for a reason. One won't do. Even the best masks lose their efficacy. Don't panic, but plan to be prepared. 
If perchance you don't know who the Patriot Nurse is, I highly recommend you should follow her. She is amazing. 
I had the privilege of taking her Medical Prep 101 & 201 class last year. While is seems pricey initially, it was worth every penny. I traveled about nine hours to take the class & had a hotel stay. 
Here are her thoughts on Ebola preparations. 


I have an online Amazon Associate/store called Perky Prepping Gramma's Store. This allows me to show you the products I have personally own, used and endorse. The cost is the same for you, but I do receive some compensation if you purchase through my store. I always appreciate your shopping. 
Specific pages:
Essential Oils & Health
Medical Supplies

Food & Medical

Friday, October 3, 2014

Yummy Candied Ginger

Ginger is so great for you. Now, I am not a doctor, nor do I play one on t.v.
but when I feel a cold coming on or I feel nauseous I reach for ginger (think about ginger ale). 
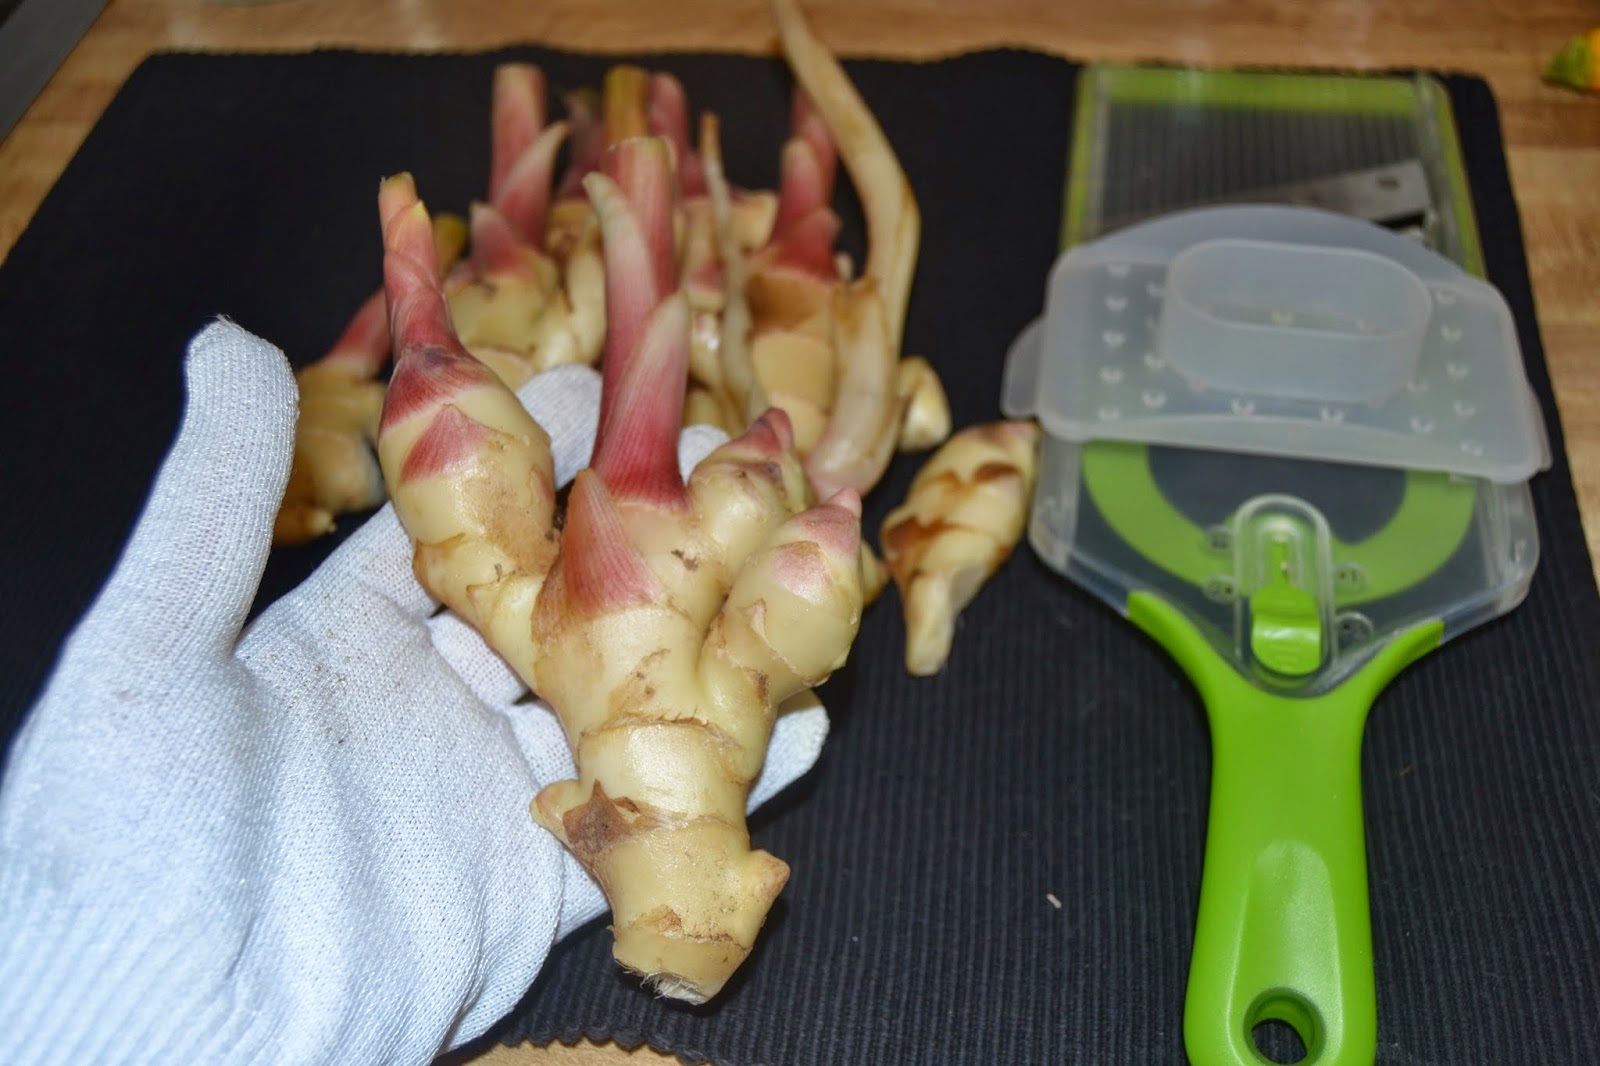
My dear fried gave me some fresh ginger roots (rhizomes) on Thursday and had made a batch of candied ginger. Ohhhh, I love candied ginger! I decided to try my hand at making some myself and I must say it was easier than I thought.


1 pound ginger
5 cups of water
about 1 pound of sugar

First I peeled my ginger. I found a scraping the root with a spoon works well. The rhizomes are bumpy and the spoon easily gets around the nobs. Prepared a cooking sheet with a screen and parchment paper for cooling. I had to improvise and use my broiler pan. LOL.


Slice the ginger into 1/8th" with a mandoline. Note I am wearing a Kevlar glove. The mandoline is a great tool, BUT I can not stress how sharp they are. I speak from experience.  Almost two years ago, I cut of a slice of my finger and have the scar to prove it. Always use the guard and a Kevlar glove. I actual own three Kevlar gloves as you know "two is one, one is none".


Put the ginger in a 4 qt. saucepan with the water. Cover and cook until the ginger is tender. About 30 minutes.


Drain the water off. I drained the water into a jar and I am going to freeze it into ice cubes for future use. Weigh the ginger and add the same weight of sugar. Take 1/4 cup of the ginger water and put in back into the saucepan with the ginger and sugar. Bring to a boil over a medium high heat, then reduce the heat to medium stirring frequently. After about 20 minutes, the sugar syrup will reduce (water cooks out) and will start to recrystallize on the ginger. 


At this point pour the mixture onto your prepared pan. Try to spread out separate the pieces. Let them cool down for about an hour. Though I did taste one warm and it was yummy!


Then package the candied ginger into an air tight container. I used a canning jar. 


I have an online Amazon Associate/store called Perky Prepping Gramma's Store. This allows me to show you the products I have personally used and endorse, while monetizing my work. What I found early on was people would ask me where I got such & such an item and I would simply share a link. There is no extra cost to you and I appreciate the support. The recipe I used was from Alton Brown from Food Network

Wednesday, October 1, 2014

Purchasing a home without debt...

This is what it looks like to purchase a house and land for cash. Yes, cash.
We got up early this morning and are traveling for about two hours to do our final walk through & purchase our new home. We have cashiers checks ready for the settlement. Some cash wired into the escrow account and cold cash. We will own this house immediately. What I want to tell you is that it is possible. Really.
About four years ago we started on the journey of getting out of debt. Started preparing about three years ago. Our main reason for preparing is we are concerned about economic collapse, so shortly after we started preparing, we pulled money out of our 401 accounts. We socked it away...
First I must say I am grateful that both DH and I have jobs. DH also has several side jobs. He does car work for others and he teaches a monthly Utah Concealed Carry Class with friends. I am grateful that DH has mad skills and I am very proud of him! We add any extra to our “sock”.
We have slowly been adding it up and here we are today we are able to buy our property.
We are not a financial planners, we just applied common sense. While I haven't specifically used it, what we do is similar to Dave Ramsey's approach, including the envelope system as you can see from this house envelope.
Got out of debt
STOPPED using credit cards
Paid off credit cards (car were already paid off)
Live with our means, cut back on our living expenses.
Start using cash.
Basically if we don't have the cash, we don't buy it.
NOTE: We each have one credit card for online purchases. But, we are extremely strict about usage and as soon as we pay for something with the card, we immediately pay the card off. And I mean immediately. For example, when I make an Amazon purchase, as soon as I get the confirmation and total I open up my online banking account and pay that amount on the credit card. O.k. I guess in reality, it takes two business days for the transaction to complete.
For more information...
10/10/14 I am currently adding more blogs posts to explain a little more in detail about how we got to this point in our journey. These posts are listed here under "Financial"

Thursday, September 25, 2014

Product Review: Have you tried KT (kinesiology therapeutic) tape?

My goals for August included finding alternative methods to ease pain.  
There is a two fold purpose: to reduce the amount of pain medications I take, and to prepare for when there may be a complete lack of available pain medications. One product I tried was kinesiology therapeutic tape. It is interesting because if applied properly, it relieves pain and durable enough to last several days. Even if you are sweating or taking showers. 
Today's post is about using the tape for my bursitis. I had done some reading and watching videos about kinesiology therapeutic tape. There are many great ones on youtube and on the KT Tape (TM) website. 
I also I tested several types and styles. The basics are pretty simply. You clean off the area get tape out, cut as needed.
Then open and apply.


This video is how I decided to place my first taping. 
ConclusionsHonestly I wasn't very hopeful that this would work. 
For me after a couple tapings I found the process worked at relieving a majority of the pain I experience from several causes. 
Cost effective: Health wise I am going to utilizing KT tape more often. Though it is probably be more cost effective to continue to store more pain medications. I chose the colors that cost less. Using free shipping stores on Amazon is even less expensive that ordering KT brand tape from their website. Color also impacts the price. I used all three types here and have them listed in order of preference, but I would recommend all three types.
                         
Lesson Learned: Watch videos on how to use them. Listen and learn the whys. 
One thing I learned on my own is how you move the joint into position when taping really does impact how well the application of the tape works and how well it will stay attached. For me, I kept losing the taping on my knees. i would apply as recommended in the videos, rub it down...still it wouldn't last overnight. Like this: (note the knee is bent at a 90 degree angle)
What I found for me, I needed to bend my knee more when applying the tape. Like this: (note the knee is completely bent)

What I discovered is how much or how far you flex the joint impacts how to apply to tape.  I actually sit & sleep with my knees drawn up completely. The tape wasn't able to flex properly and the tape would peel off. Now that i am applying in with my knees drawn up, the tape lasts 4-5 days.

Tip: If the end of the tape starts to peel loose, add a strip of regular medical tape across the ends. It will give a longer life. 
P.S. While I was getting ready to post this my neighbor came by. I had taped up her knee last week and I asked how it worked. She said to tell you it worked great and she is going to my website to purchase some for herself. Whott! Whoot! 

Sunday, September 21, 2014

It's the time of year for elderberry juice...

This weekend I made my third batch of elderberry juice for this week. Actually I made 6 batches total. Seriously, I am so glad I had all the supplies on hand in my larder. The first batch was for three people at work who had a very bad cold. They were a bit hesitant at first, but it was so much fun to make them try it and see them experience relief within minutes.
I am telling you, this stuff is golden. I personally use it for relief of allergies, colds and flu. Also the juice is great as an immunity builder, particularly if you have been exposed to someone with a cold or flu. (more on benefits of elderberries at Herb Wisdom)
I am making more since that nasty little cold bug seems to want to catch me & that isn't going to happen.
Today’s batch is made from elderberries the guys picked a little while ago, which I dehydrated. The ginger is from my friends at Gold Hill Blueberry Farm, which I also dehydrated this weekend. The honey is from a local grower.
The recipe is very simple & only takes about 40 minutes total.
NOTE: I have written the basic recipe on the top of my jar of elderberries, so that it is always handy.


Elderberry Juice
½ cup of dehydrated elderberries (If using fresh elderberries use 1 cup)
3 cups of water
I add several slices of dehydrated ginger
1/3 -1/2 cup of honey

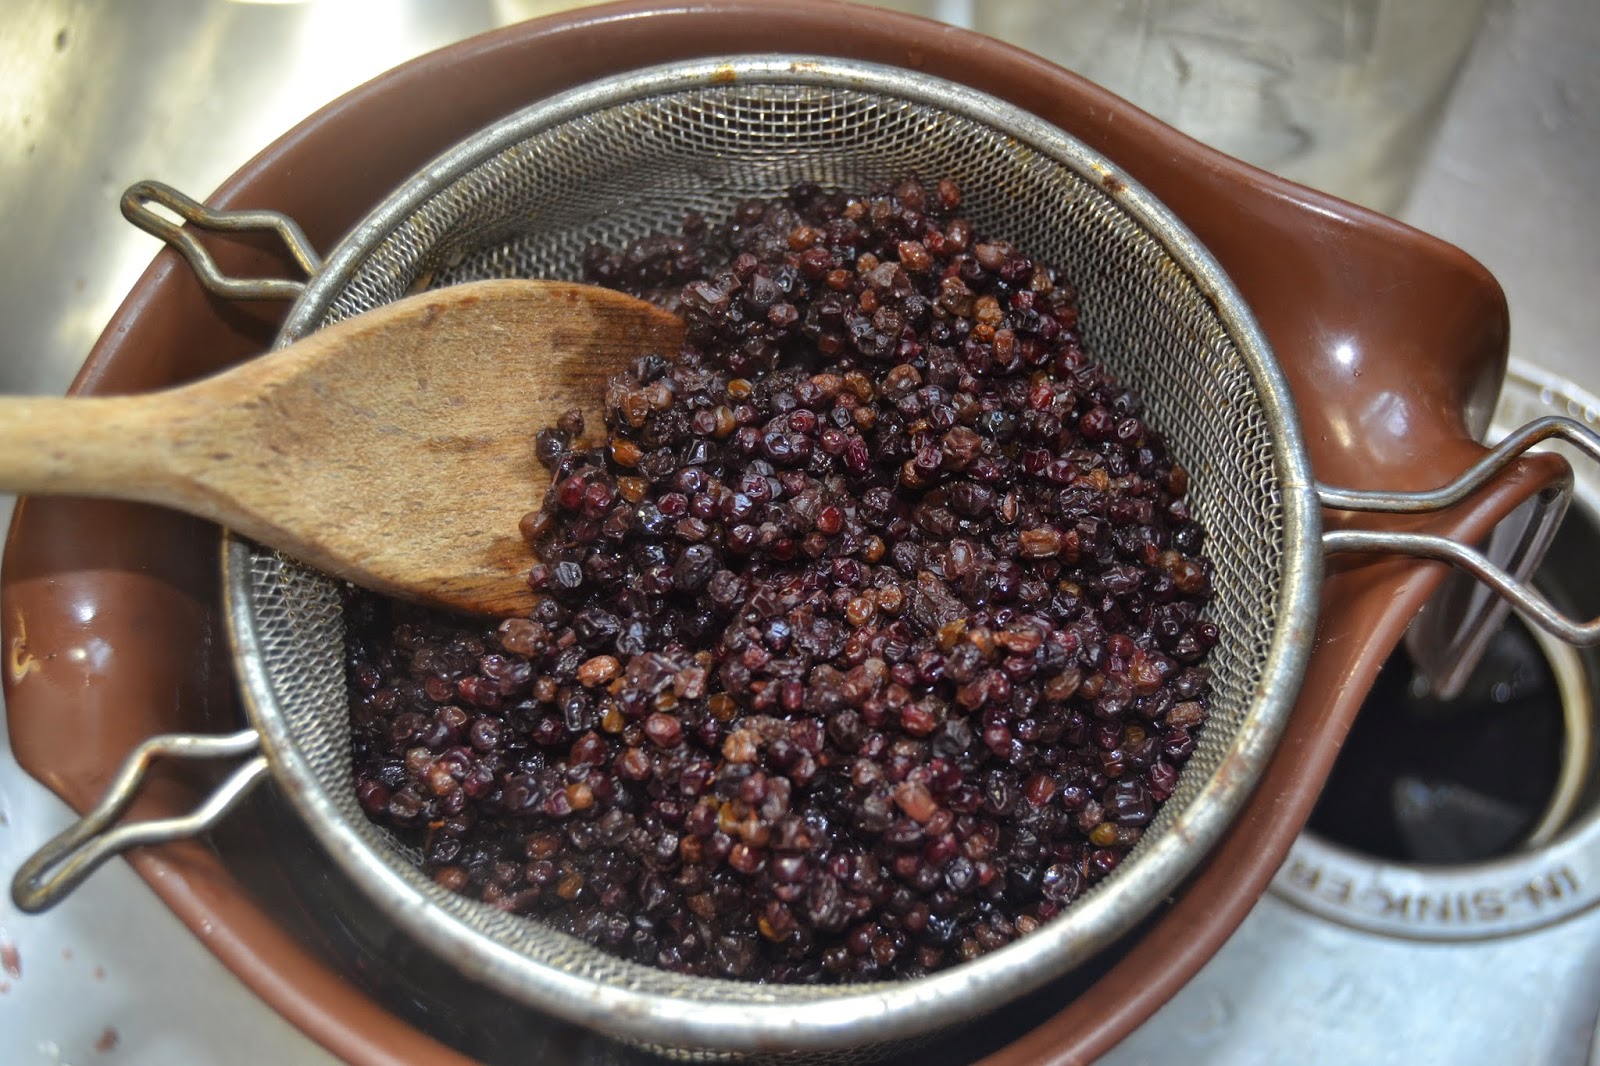
Add the elderberries, water and ginger in a saucepan and simmer for 30 mins. Strain out the berries and ginger. Add honey to taste.


I pour the juice into these nifty bottles I got from Ikea. It will last about 6 months in the fridge. Today I am freezing some of the juice in ice cubes trays and will keep in my freezer. The five spaces with brown liquid is juice from the ginger root.
Edited: 092514 Here you have it elderberry/ginger juice ice cubes, vacuum sealed & ready to store. This morning I simply added a couple cubes to my morning drink. Yummy! Yes, I had already gone through my bottle of elderberry juice I made.
Must say it has worked wonders. I know that cold is trying to catch me, but with my juice I refuse to be caught by this cold! 


To find economical dehydrated elderberries and organic dehydrated  elderberries you are able to find them on Amazon (associates link: note these have additional shipping). I have used both and believe they are excellent products. I will be finding and planting elderberry bushes on our property. I also am going to get some ginger to grow from a friend.

Made it just in the nick of time. I have been using the elderberry juice regularly. 

EDITED 102414: Just found this wonderful blog post: "Elderberries: The Definitive Guide" by Sun Flower Press