
Pressure canning is really very easy.
So, I thought I'd share my latest canning adventure.
I was blessed to be able to glean some green beans from friends.
First you snap the ends off and break the beans into smaller pieces. This is a great activity for the family to share.
Then you clean the beans by swishing them in water & rinsing them.
Next you will want to wash and rinse your lids, rings and canning jars in warm water. If you are pressure canning anything longer than 10 minutes, Ball Mason Canning Jar Company no longer recommends sterilization, since that will be accomplished in the pressure canner.
But, I do recognize that habits are hard to break.

Next, you stuff green beans into your canning jars, add water and wipe the rim off with a clean cloth.
Salt is optional: "Salt has no effect on the natural color and texture of canned foods, except for pickles and cured or smoked foods. Follow USDA approved directions, just omit the salt. The main reason for using salt in canning is to enhance flavor."
If you do use salt I recommend canning salt.
You may cold pack or hot pack. Cold pack is simply adding the beans into your jars without cooking (blanching), adding water, sealing then pressure canning.
With hot pack you blanch (to scald briefly in boiling water) the green beans and add boiling water to the jars. Both methods are safe. It's just a choice.
Here you see I am using the bubble popper/magnetic wand to release to trap air bubbles.


Please note that I am saying pressure canner. It is the safest practice to pressure can green beans.


Add the recommended amount of water to your canner. I am pressure canning pints here and I am double stacking them. So, I placed in the first canning rack, a row of jars and then added the second canning rack.


When the canner is full, then you put the lid on. Note how the All-American pressure canner has solid hooks sort of that slide into place to secure the lid. You will want to make sure that the lid is seated properly, so that there is equal spacing between the lid and the canner all the way round.


Next, when using the All- American canner you start with wing nuts on the opposite and begin to tighten them down, but completely tightened at this point.
Then you you do the same thing for the remaining wing nuts. Opposite sides. After all 6 are started, then you go back and tighten them down completely.


Then you pressure can according to the directions. I am doing pints, so I am using 10 lbs. of pressure for 20 minutes. Which means, you start the burner on high until the pressure builds (steam coming out the top for 7 minutes with the AA). Then you add your appropriate weight gauge.

Then after the weight begins to "jiggle", you reduce the temperature so that the gauge spits or spews 1-5 times ever minute.
Set your timers for the appropriate amount of time, mine was for 20 minutes this time.
As you get to learn your stove and canner, you will know exactly how low you are able to reduce the temperature.
Then the timer goes off, then you remove the canner from the heat and let it set until the pressure gauge reads all the way down to zero.
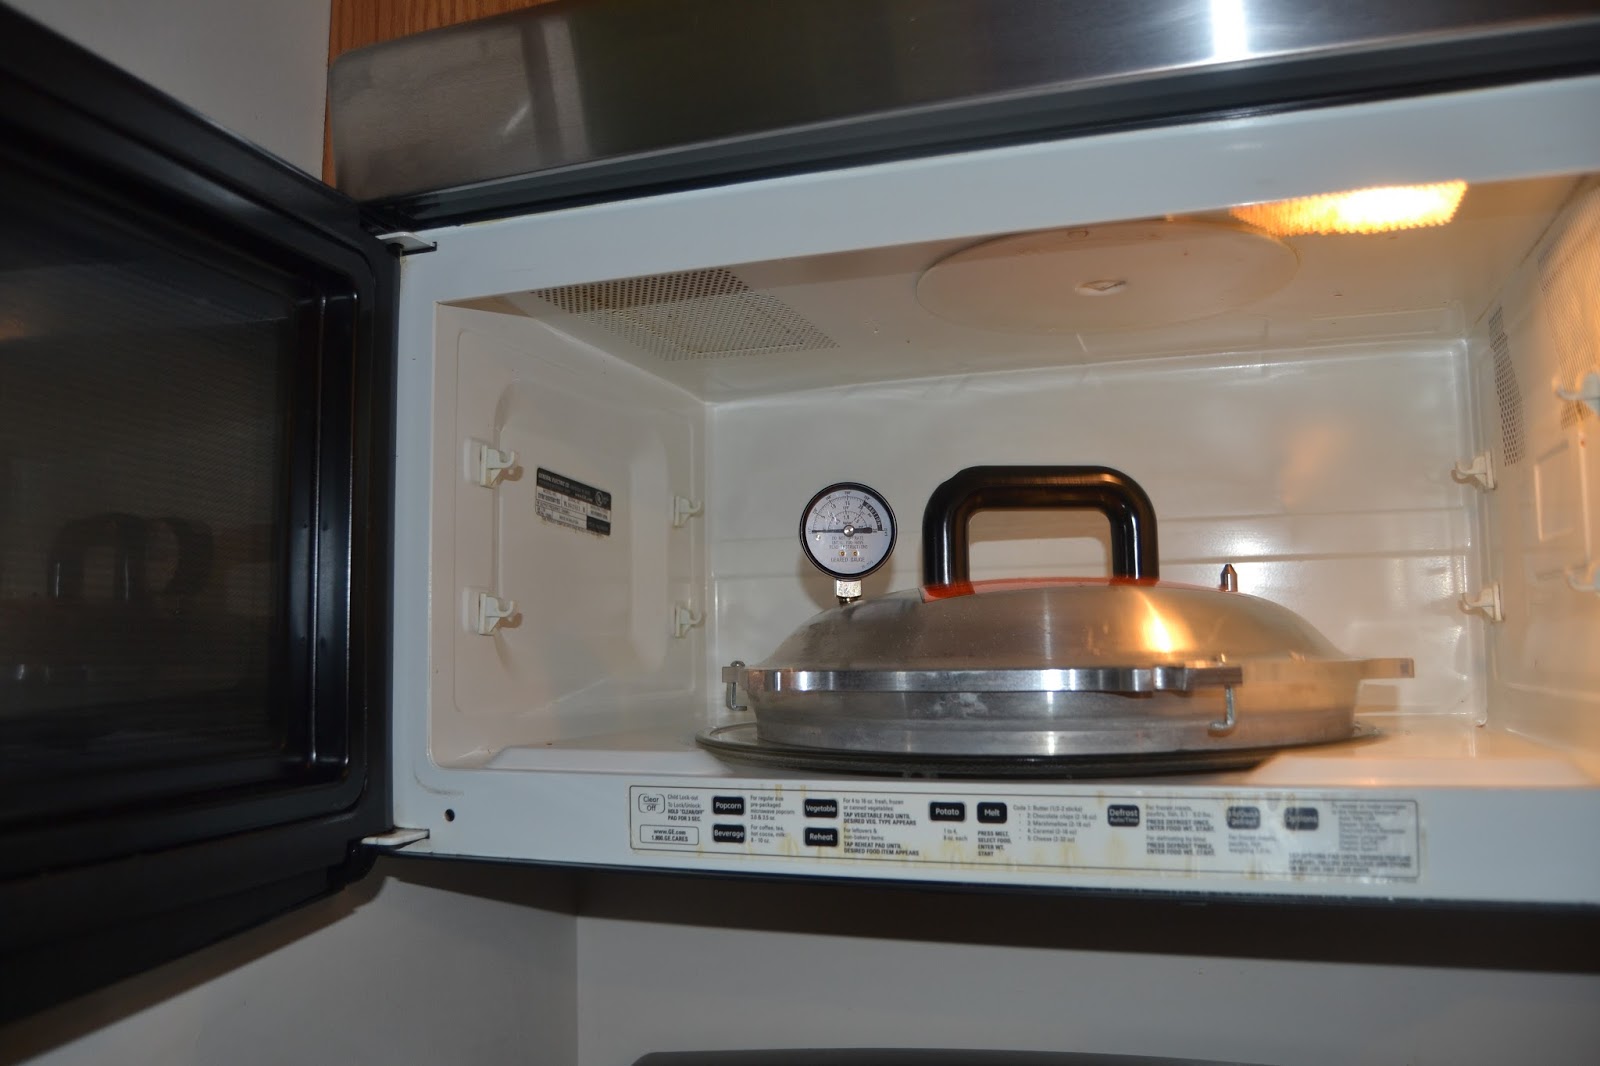
Then you may remove your lid. I find it helpful to drape a towel around the lid edges when I remove my lid so I am not burned by the steam as I open it away from me. Plus, have you ever tried a find a place to set your hot lid down at this point amidst all your canning? I figured out that i could place in in the microwave above my stove in between canning.
Lift the jars out, then the ring and the remaining jars.


Then sit the jars out on a dish towel and let them cool down completely. Listen for the magic "ping". If one of your jars doesn't seal, then put that in the fridge and use. I generally let them sit out over night. Don't these freshly pressure canned beans look yummier than the store bought cans?

The next day, I finish up using these tips in Testing 1, 2, 3...
Thank you for visiting and we would love it if you joined our community at Perky Prepping Gramma on Facebook. Items I used today:
I
participate in the Amazon Associate program, where I receive a small
% commission for linking products that I recommend. I only recommend
products I personally used and like. Your
support is very appreciated, anything
you choose to purchase through my link, is helping me to be able to
share more things that I do with you. Perky
Gramma Teaches Amazon link.
No comments:
Post a Comment